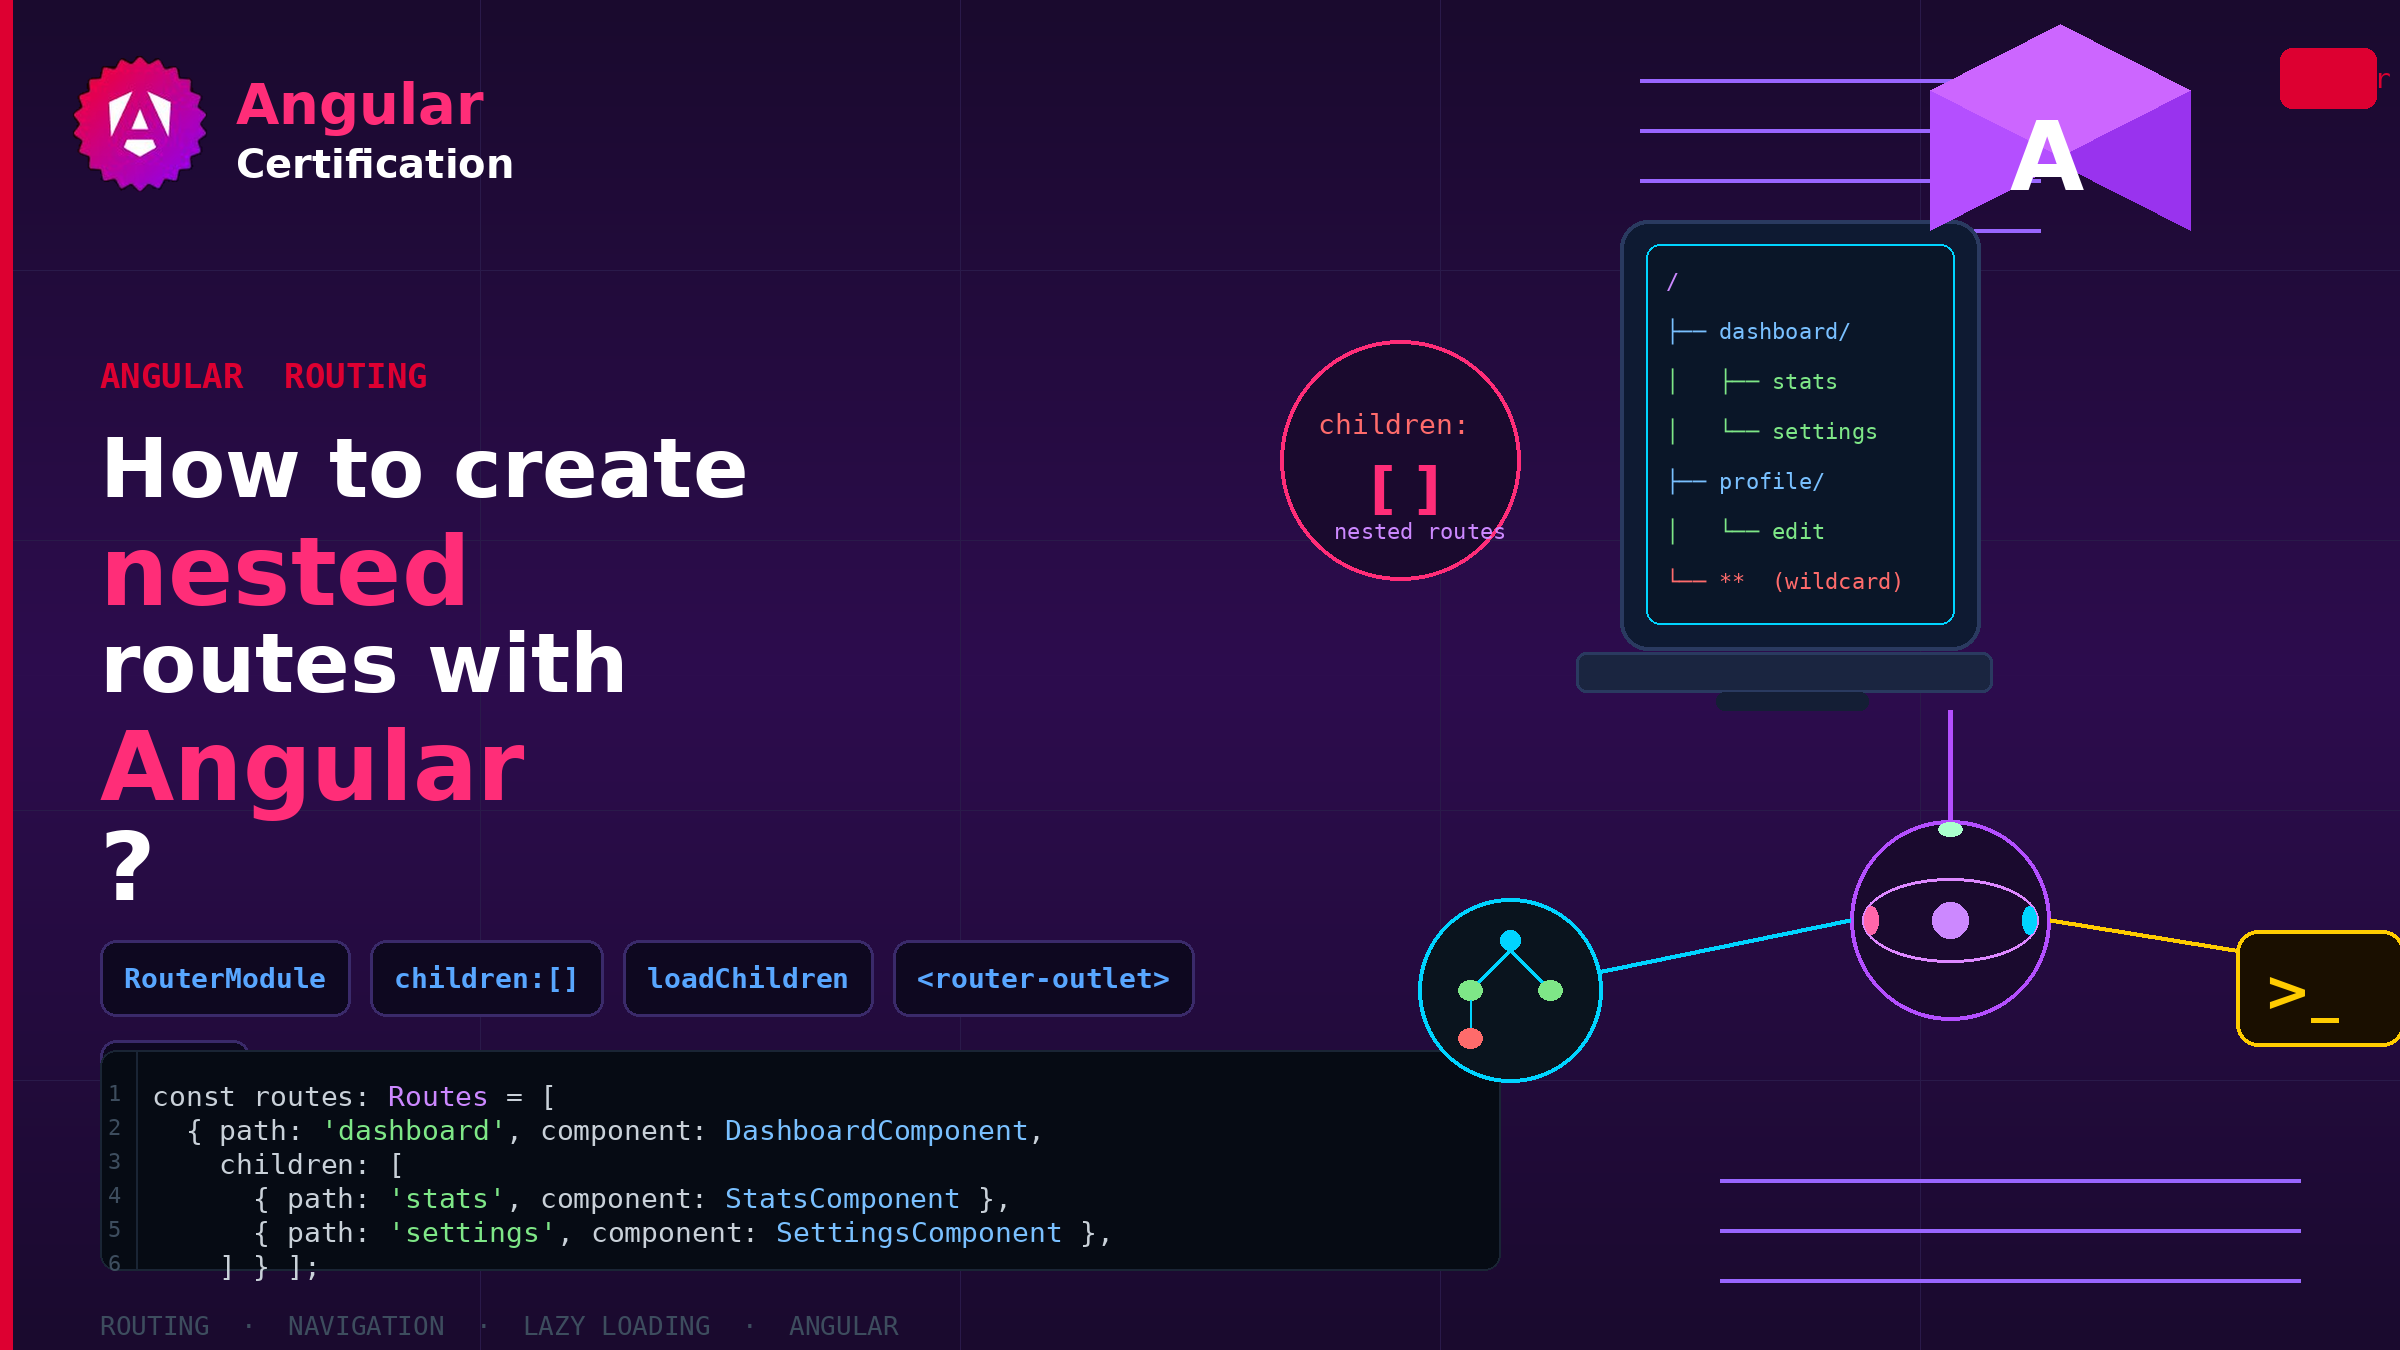
How to create nested routes with Angular?
Learn how Angular nested routes and child routes work with multiple router outlets, and see how to use them to build navigable sections such as tabbed dashboards.
Alain Chautard
September 15, 2026
Nested routes, or child routes, can be used when multiple router outlets are present in an Angular application. Why would we have multiple router outlets in the first place? Let’s take an example.
Say you have an application with multiple screens (pages) that you can navigate to. One of these screens is a complex dashboard that includes a section with tabs. You could use the router to implement navigation within those tabs, using nested routes.
This means we have a main router outlet as follows in the App component:
<div>
  <button type="button" routerLink=""><< Menu</button>
</div>
<div class="tabs-container">
  <div class="tabs">
    <a routerLink="tab1" routerLinkActive="active">Tab 1</a>
    <a routerLink="tab2" routerLinkActive="active">Tab 2</a>
    <a routerLink="tab3" routerLinkActive="active">Tab 3</a>
  </div>

  <div class="tab-content">
    <router-outlet></router-outlet>
  </div>
</div>
The router config looks like this — using the children section for nested / child routing:
 {
    path: 'tabs',
    component: TabsComponent,
    children: [
      { path: '', redirectTo: 'tab1', pathMatch: 'full' },
      { path: 'tab1', component: Tab1Component },
      { path: 'tab2', component: Tab2Component },
      { path: 'tab3', component: Tab3Component }
    ]
  }
That config means that if the browser URL becomes /tabs, the TabComponent is displayed in the main router outlet, and the Tab1Component is displayed in the router outlet of TabComponent, because the empty child path redirects to /tab1, which then renders Tab1Component.
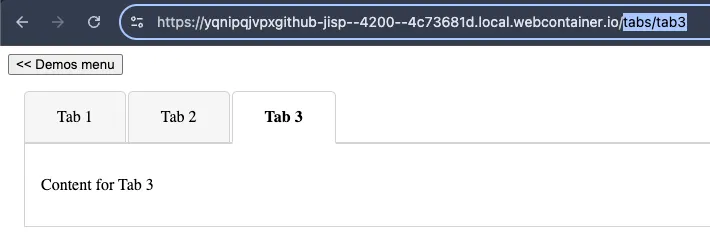
Then, if the browser URL becomes /tabs/tab3, the TabComponent is still displayed in the main router outlet, and Tab3Component is displayed in the router outlet of TabComponent.
 ]
]
This has three important benefits:
You can create links that navigate to a specific tab or sub-section of any given screen Since the current “tab” depends on the URL, switching tabs can be done using the browser’s previous/next buttons. A full page refresh would display the same tab selected. A URL can be bookmarked to display the application in the same state with the same tab selected. You can see the code of my example on Stackblitz here.
More certificates.dev articles
Get the latest news and updates on developer certifications. Content is updated regularly, so please make sure to bookmark this page or sign up to get the latest content directly in your inbox.
Building Reusable Validators in Angular Signal Forms
Learn how to create reusable custom validators with Angular Signal Forms, with practical examples for building flexible and maintainable form validation.
Alain Chautard
Sep 29, 2026

A Reference to Composable Patterns in Vue
A catalog of practical patterns for writing composables that are flexible, predictable, and easy to reuse.

Reza Baar
Sep 23, 2026
AbortController: Cancellation and Cleanup in JavaScript
AbortController does more than cancel a fetch. Learn how one signal cleans up event listeners, times out requests, and combines with AbortSignal.any().

Martin Ferret
Sep 22, 2026