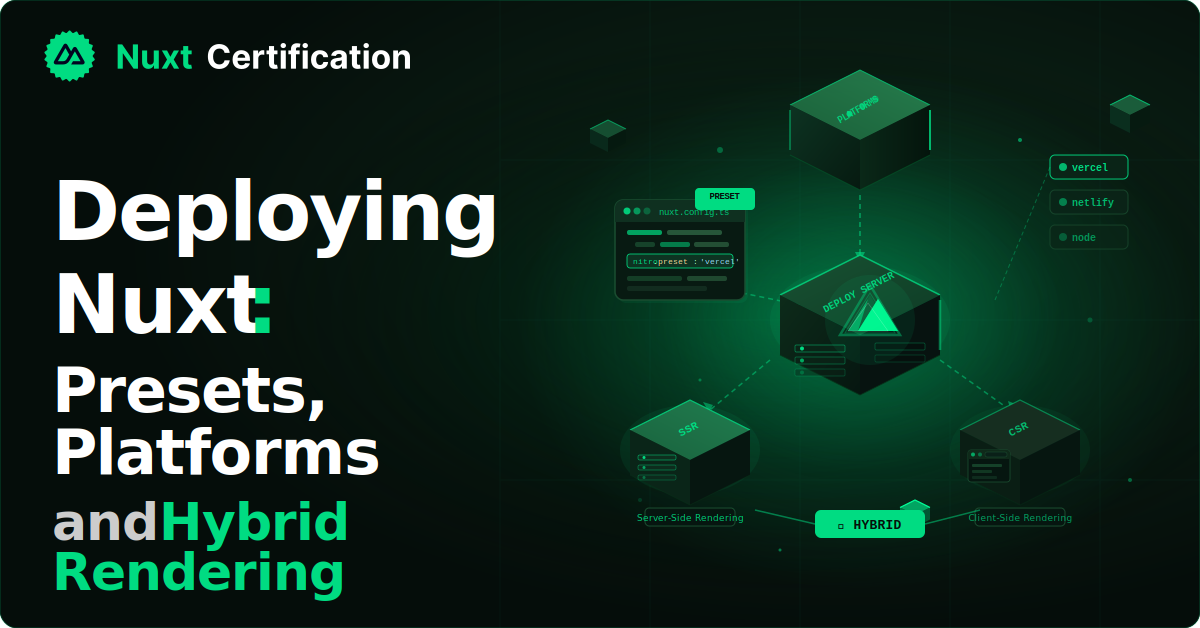
Deploying Nuxt: Presets, Platforms, and Hybrid Rendering
How to deploy Nuxt to Vercel, Netlify, Cloudflare, and Node, with hybrid rendering via routeRules.

Reza Baar
June 3, 2026
Deploying Nuxt: Presets, Platforms, and Hybrid Rendering
Nuxt deploys almost anywhere thanks to Nitro, the server engine underneath. Nitro has over 15 presets that adapt your build output for different hosting targets. You can also mix rendering strategies in a single app: some routes static, some SSR, some client-only. In this post, we'll cover the most common deployment targets, how hybrid rendering works, and the environment variable patterns you need to get right.
How Nitro Presets Work
When you run nuxt build, Nitro compiles your server code into a format that matches the target platform. The preset controls what the build output looks like:
- node-server (default): produces a standalone Node.js server
- vercel: produces Vercel serverless functions
- netlify: produces Netlify Functions
- cloudflare-pages: produces Cloudflare Workers
- static: pre-renders every route to HTML at build time
In most cases, Nitro auto-detects the preset based on your deployment environment. If you're deploying to Vercel, it detects that and uses the Vercel preset automatically. You can also set it explicitly:
      // nuxt.config.ts
export default defineNuxtConfig({
  nitro: {
    preset: 'cloudflare-pages',
  },
});
Deploying to Vercel
Vercel auto-detects Nuxt projects. Push your code to a Git repo, connect it in the Vercel dashboard, and it builds and deploys with the right preset.
If you need to configure anything:
      // nuxt.config.ts
export default defineNuxtConfig({
  nitro: {
    preset: 'vercel',
  },
});
For Vercel Edge Functions (runs at the edge instead of a single region):
      // nuxt.config.ts
export default defineNuxtConfig({
  nitro: {
    preset: 'vercel-edge',
  },
});
Environment variables are set in the Vercel dashboard under Settings > Environment Variables. They're available in your Nuxt app through useRuntimeConfig():
      // nuxt.config.ts
export default defineNuxtConfig({
  runtimeConfig: {
    secretApiKey: '', // NUXT_SECRET_API_KEY
    public: {
      apiBase: '', // NUXT_PUBLIC_API_BASE
    },
  },
});
Nuxt automatically maps environment variables with the NUXT_ prefix to the corresponding runtimeConfig keys.
Deploying to Netlify
Similar to Vercel, Netlify auto-detects Nuxt. Connect your repo and it picks up the framework settings. Manually:
      // nuxt.config.ts
export default defineNuxtConfig({
  nitro: {
    preset: 'netlify',
  },
});
For Netlify Edge Functions:
      // nuxt.config.ts
export default defineNuxtConfig({
  nitro: {
    preset: 'netlify-edge',
  },
});
Set the build command to nuxt build and the publish directory to dist in your Netlify settings (or netlify.toml):
      # netlify.toml
[build]
  command = "nuxt build"
  publish = "dist"
Deploying to Cloudflare Pages
Cloudflare Pages runs your server code on the Workers runtime at the edge. This gives you low latency globally but comes with some constraints (no Node.js fs access, limited Node APIs).
      // nuxt.config.ts
export default defineNuxtConfig({
  nitro: {
    preset: 'cloudflare-pages',
  },
});
Deploy with Wrangler:
      npx nuxt build
npx wrangler pages deploy dist/
Or connect your Git repo in the Cloudflare dashboard. Make sure to disable Cloudflare's "Rocket Loader" and "Email Address Obfuscation" under Speed and Security settings, as these inject scripts that can cause hydration errors.
Self-Hosting with Node.js
For a traditional server deployment (Docker, a VPS, or any environment with Node.js):
      // nuxt.config.ts
export default defineNuxtConfig({
  nitro: {
    preset: 'node-server',
  },
});
Build and run:
      nuxt build
node .output/server/index.mjs
The server starts on port 3000 by default. Set PORT and HOST environment variables to change this. Make sure NODE_ENV=production is set, because Vue Router strips development warnings only when this is present.
For Docker:
      FROM node:20-slim

WORKDIR /app
COPY .output .output

ENV NODE_ENV=production
ENV HOST=0.0.0.0
ENV PORT=3000

EXPOSE 3000
CMD ["node", ".output/server/index.mjs"]
The .output directory contains everything needed to run the app. You don't need node_modules or source files in the container.
Static Site Generation
If your entire site can be pre-rendered at build time:
npx nuxi generate
This crawls all routes and generates static HTML files. The output goes to .output/public and can be deployed to any static hosting (GitHub Pages, S3, Cloudflare Pages in static mode).
For sites with many dynamic routes, tell Nuxt which routes to pre-render:
      // nuxt.config.ts
export default defineNuxtConfig({
  nitro: {
    prerender: {
      routes: ['/blog/post-1', '/blog/post-2'],
      crawlLinks: true, // also pre-render pages linked from known routes
    },
  },
});
Hybrid Rendering with routeRules
This is where Nuxt deployment gets interesting. You can assign different rendering strategies to different routes in a single app:
      // nuxt.config.ts
export default defineNuxtConfig({
  routeRules: {
    // Pre-rendered at build time (static)
    '/': { prerender: true },
    '/about': { prerender: true },

    // Incremental Static Regeneration: cached, revalidated every hour
    '/blog/**': { isr: 3600 },

    // Server-side rendered on every request (default)
    '/dashboard/**': { ssr: true },

    // Client-only SPA mode (no server rendering)
    '/admin/**': { ssr: false },

    // Simple redirect
    '/old-page': { redirect: '/new-page' },

    // Cache headers for API routes
    '/api/**': {
      cors: true,
      headers: { 'cache-control': 'max-age=60' },
    },
  },
});
This means your landing page and about page are static (fast, cached at CDN), your blog uses ISR (fresh content without rebuilding the entire site), your dashboard is fully SSR (always current), and your admin panel is client-only (no server rendering overhead).
The ** glob matches all paths under that prefix.
ISR: Incremental Static Regeneration
ISR is especially useful for content-heavy sites. The first request triggers a server render and caches the result. Subsequent requests get the cached version. After the isr interval (in seconds), the next request triggers a background revalidation.
      routeRules: {
  '/blog/**': { isr: 3600 }, // cache for 1 hour
  '/products/**': { isr: 300 }, // cache for 5 minutes
}
This works on platforms that support it (Vercel, Netlify, Cloudflare). On a Node.js server, Nitro handles the caching internally.
Environment Variables Across Platforms
The pattern is the same everywhere. Define the shape in runtimeConfig, set values through environment variables with the NUXT_ prefix:
      // nuxt.config.ts
export default defineNuxtConfig({
  runtimeConfig: {
    databaseUrl: '',           // NUXT_DATABASE_URL (server only)
    stripeSecret: '',          // NUXT_STRIPE_SECRET (server only)
    public: {
      apiBase: '',             // NUXT_PUBLIC_API_BASE (client + server)
      siteUrl: '',             // NUXT_PUBLIC_SITE_URL (client + server)
    },
  },
});
Access them in code:
      // In a server route
const config = useRuntimeConfig();
const db = connectToDatabase(config.databaseUrl);

// In a component (only public config)
const config = useRuntimeConfig();
const apiUrl = `${config.public.apiBase}/posts`;
Where you set the actual values depends on the platform: Vercel/Netlify dashboards, Cloudflare's wrangler.toml, Docker .env files, or CI/CD pipeline variables. The runtimeConfig shape stays the same across all platforms.
Checking Your Setup
After deploying, verify everything is working:
      # Check which Nuxt/Nitro version and preset is active
npx nuxi info

# Preview the production build locally
npx nuxi preview
nuxi preview builds and serves the production output locally, using the same preset and rendering rules as the real deployment. This catches issues before they hit production.
Key Takeaways
- Nitro auto-detects your deployment target in most cases. Set the preset explicitly when needed.
- Vercel, Netlify, and Cloudflare all have auto-detection for Nuxt projects
- Self-hosting with Node.js produces a standalone server. The
.outputdirectory is all you need. routeRuleslets you mix static, ISR, SSR, and SPA rendering in one app- ISR caches server-rendered pages and revalidates in the background
- Environment variables use the
NUXT_prefix and map toruntimeConfigon all platforms - Use
nuxi previewto test production behavior locally
Conclusion
We covered the most common deployment targets for Nuxt and how to configure hybrid rendering with routeRules. The combination of Nitro presets and per-route rendering strategies means you can optimize each part of your app independently without splitting it into separate projects.
More certificates.dev articles
Get the latest news and updates on developer certifications. Content is updated regularly, so please make sure to bookmark this page or sign up to get the latest content directly in your inbox.

The First Hands-On AI Developer Certification
Discover how the AI Developer Certification measures real-world AI-assisted development through a hands-on, proctored exam. Learn what makes the certification unique, how it works, and what to expect when preorders open.

Alex Garrett-Smith
Jul 23, 2026
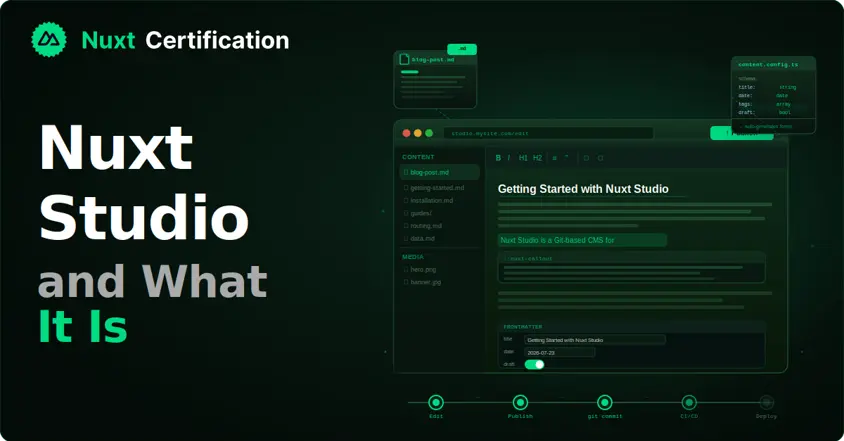
Nuxt Studio and What It Is
A look at Nuxt Studio, the open-source visual CMS for Nuxt Content, how it works with Git, and when it's the right fit.
Reza Baar
Jul 22, 2026

JavaScript Generators: Writing Iterators With yield
JavaScript generators explained: write lazy iterators with yield, handle infinite sequences, and skip the protocol boilerplate.

Martin Ferret
Jul 21, 2026