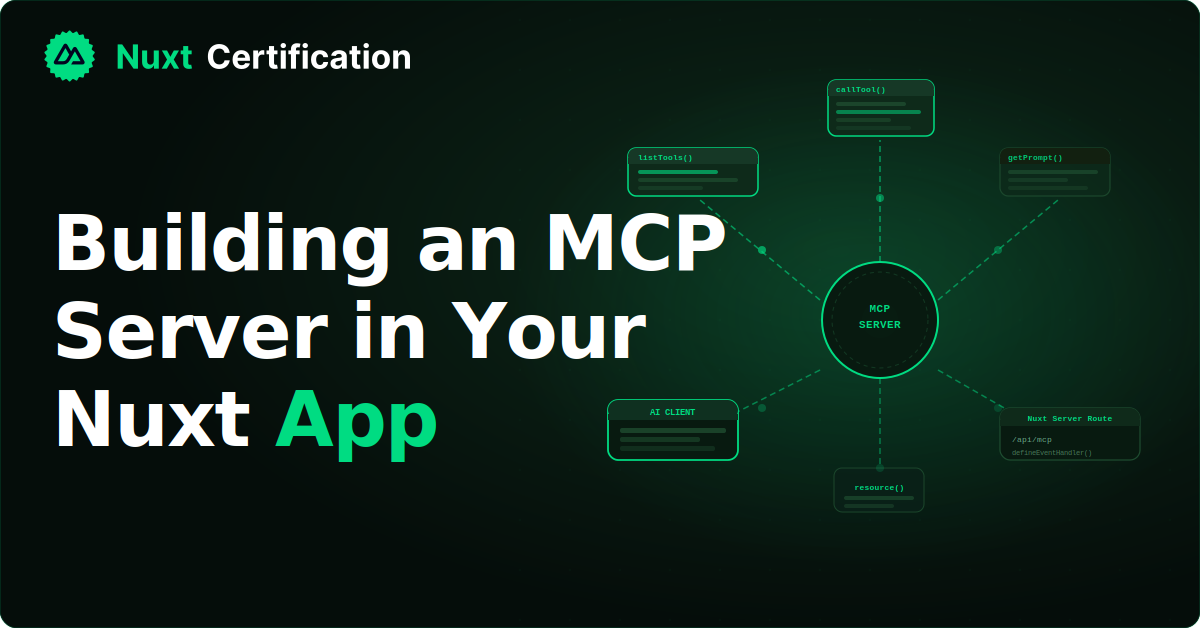
Building an MCP Server in Your Nuxt App
Building an MCP Server in Your Nuxt App with the MCP Toolkit. How to expose your Nuxt app's data and actions to AI assistants using @nuxtjs/mcp-toolkit, with tools, resources, and prompts.

Reza Baar
September 2, 2026
The Model Context Protocol (MCP) is an open standard that lets AI assistants access data and tools in a structured way. Instead of returning HTML or generic JSON, an MCP server exposes semantic data that a model can understand and act on. The @nuxtjs/mcp-toolkit module lets you build one directly inside your Nuxt app, so tools like Claude Code, Cursor, and Windsurf can call into your application. In this post, we'll set it up and build tools, resources, and prompts.
What You Can Expose
An MCP server exposes three kinds of things, and the difference matters:
- Tools are functions the AI can call to perform an action or fetch information. The model decides when to call them, and they return structured data. A search function or a "create record" action is a tool.
- Resources provide access to data via URIs, usually static files or data sources the AI can read, like a changelog or a docs page.
- Prompts are reusable, user-invoked templates that return conversation messages. Unlike tools, a person triggers them, not the model.
The module discovers all three automatically from your server/mcp/ directory, so you mostly just create files.
Installation
Install the module and its peer dependency, Zod:
npx nuxi module add mcp-toolkit
That adds @nuxtjs/mcp-toolkit to your config for you:
Then register it and give your server a name:
// nuxt.config.ts
export default defineNuxtConfig({
  modules: ['@nuxtjs/mcp-toolkit'],
  mcp: {
    name: 'My MCP Server',
    version: '1.0.0',
  },
});
This exposes an HTTP endpoint at /mcp. AI clients connect there, and the module scans server/mcp/ for your definitions and registers them.
The Directory Structure
Definitions live under server/mcp/, organized by type:
server/
  mcp/
    tools/
      echo.ts
      search-posts.ts
    resources/
      changelog.ts
    prompts/
      summarize.ts
Files in these directories are discovered and registered with no manual wiring. Let's build one of each.
Your First Tool
A tool has a description, an input schema validated with Zod, and a handler. Here's the classic echo tool:
// server/mcp/tools/echo.ts
// returns whatever message it's given, prefixed with "Echo:"

import { z } from 'zod';

export default defineMcpTool({
  description: 'Echo back a message',
  inputSchema: {
    message: z.string().describe('The message to echo back'),
  },
  handler: async ({ message }) => {
    return {
      content: [{ type: 'text', text: `Echo: ${message}` }],
    };
  },
});
defineMcpTool is auto-imported. The .describe() calls on each Zod field are worth doing, since those descriptions are what the AI reads to understand how to use the tool. The handler gets the validated input and returns a content array in MCP's standard { type: 'text', text: ... } format.
A Real Tool: Searching Your Content
The echo tool shows the shape, but the point is to expose your actual app. Here's a tool that searches blog posts, the kind of thing an assistant could use to answer questions about your content:
// server/mcp/tools/search-posts.ts
// searches posts by keyword, returns matches as JSON

import { z } from 'zod';

export default defineMcpTool({
  description: 'Search blog posts by keyword and return matching titles and URLs',
  inputSchema: {
    query: z.string().describe('The search query'),
    limit: z.number().optional().describe('Max results to return (default 5)'),
  },
  handler: async ({ query, limit = 5 }) => {
    const posts = await searchPosts(query, limit);
    return {
      content: [{ type: 'text', text: JSON.stringify(posts, null, 2) }],
    };
  },
});
The module ships a jsonResult helper that tidies up the return:
// server/mcp/tools/search-posts.ts
// same tool, using the jsonResult helper

import { z } from 'zod';

export default defineMcpTool({
  description: 'Search blog posts by keyword and return matching titles and URLs',
  inputSchema: {
    query: z.string().describe('The search query'),
    limit: z.number().optional().describe('Max results to return (default 5)'),
  },
  handler: async ({ query, limit = 5 }) => {
    const posts = await searchPosts(query, limit);
    return jsonResult(posts);
  },
});
There's an errorResult(message) helper too, for returning errors in the format clients expect.
Using Nuxt Server Utilities in Handlers
Your tools will often need Nuxt's server composables to access the request, query content, or read storage. To use utilities like useEvent() inside a handler, enable asyncContext:
// nuxt.config.ts
// enables useEvent() and other server composables inside handlers

export default defineNuxtConfig({
  modules: ['@nuxtjs/mcp-toolkit'],
  experimental: {
    asyncContext: true,
  },
});
Now a tool can grab the H3 event and use server utilities like queryCollection from Nuxt Content:
// server/mcp/tools/list-docs.ts
// lists every docs page with its title, path, and description

import { queryCollection } from '@nuxt/content/server';

export default defineMcpTool({
  description: 'List all available documentation pages with their paths',
  handler: async () => {
    const event = useEvent();
    const pages = await queryCollection(event, 'docs')
      .select('title', 'path', 'description')
      .all();

    return jsonResult(pages);
  },
});
That's the pattern behind the official Nuxt documentation MCP server. These are tools that expose docs, blog posts, and guides as structured data an AI can query.
Exposing a Resource
Resources give the AI read access to data by URI. The simplest form points at a file, and the module handles URI generation, MIME-type detection, and reading:
// server/mcp/resources/changelog.ts
// exposes CHANGELOG.md as a readable resource

export default defineMcpResource({
  file: 'CHANGELOG.md',
  metadata: {
    description: 'Project changelog',
  },
});
For dynamic data instead of a static file, provide a URI and a handler:
// server/mcp/resources/readme.ts
// reads and returns the README on request

import { readFile } from 'node:fs/promises';

export default defineMcpResource({
  name: 'readme',
  uri: 'file:///README.md',
  handler: async (uri: URL) => {
    const content = await readFile(uri.pathname, 'utf-8');
    return {
      contents: [{ uri: uri.toString(), text: content }],
    };
  },
});
Creating a Prompt
Prompts are reusable message templates a user invokes. They return conversation messages rather than structured data, which is the key difference from tools:
// server/mcp/prompts/summarize.ts
// builds a "summarize this post" message from a slug

import { z } from 'zod';

export default defineMcpPrompt({
  description: 'Summarize a blog post in a few sentences',
  argsSchema: {
    slug: z.string().describe('The slug of the post to summarize'),
  },
  handler: async ({ slug }) => {
    const post = await getPostBySlug(slug);

    return {
      messages: [
        {
          role: 'user',
          content: {
            type: 'text',
            text: `Summarize this blog post in 2-3 sentences:\n\n${post.body}`,
          },
        },
      ],
    };
  },
});
When a user invokes this with a slug, the module fetches the post and hands the AI a ready-made message to act on.
Debugging with the Inspector
The module includes an MCP Inspector in Nuxt DevTools. When you run your dev server, you get a visual interface to see every registered tool, resource, and prompt, call them with test inputs, and inspect the responses. It's much faster than wiring up an external MCP client just to check that a tool works.
npm run dev
Open DevTools and find the MCP Inspector tab. You can exercise each definition directly and iterate on a tool's schema and handler without leaving your app.
Connecting an AI Client
Once your server is running, point an MCP client at your endpoint. For a local app, that's http://localhost:3000/mcp. In Cursor, VS Code, or Claude Code, you add that endpoint to the client's MCP configuration, and your tools become available in the assistant.
Because the server lives inside your Nuxt app, it deploys with your app. In production, the endpoint sits at your domain's /mcp path. Since it exposes your data and actions to AI clients, treat it like any other API surface: add authentication and validate inputs. The module supports middleware for exactly this, so you can protect the endpoint or scope what different clients can reach.
However…
Be deliberate about what you expose. Every tool you add is something an AI client can invoke. Read-only tools (search, list, fetch) are low-risk. Tools that write data or perform actions need the same care as any endpoint that mutates state, including auth and validation. Start with read-only tools over your content, and add action tools once you've thought through who can call them.
Key Takeaways
@nuxtjs/mcp-toolkitlets you build an MCP server inside your Nuxt app so AI assistants can call into it- It exposes three things: tools (model-called actions), resources (data by URI), and prompts (user-invoked templates)
- Definitions live in
server/mcp/tools,resources, andprompts, and are auto-discovered - Use
defineMcpToolwith a ZodinputSchema, and.describe()every field so the AI understands it - Enable
experimental.asyncContextto use Nuxt server utilities likeuseEvent()in handlers - The built-in Inspector in Nuxt DevTools lets you test tools without an external client
- Treat the endpoint like any API: add auth and validate inputs, especially for tools that write data
Conclusion
The MCP Toolkit turns your Nuxt app into something AI assistants can understand and act on, with tools, resources, and prompts that live alongside your regular server code. File-based discovery and the DevTools Inspector make it quick to build and test. Start by exposing read-only access to your content, and expand from there as you decide what actions are safe to hand to a client.
I hope this post has been helpful. If you want to read more, check out mcp-toolkit.nuxt.dev.
More certificates.dev articles
Get the latest news and updates on developer certifications. Content is updated regularly, so please make sure to bookmark this page or sign up to get the latest content directly in your inbox.
Iterator Helpers: Lazy Pipelines in JavaScript
ES2025 added map, filter, take and drop to iterators. Learn how lazy pipelines skip intermediate arrays, handle infinite sequences, and where they do not help.

Martin Ferret
Oct 6, 2026
Debugging Suspense with the React Suspense Panel
The Suspense panel in React Developer Tools shows which boundary suspended, what it was waiting for, and the order your page revealed its content.

Aurora Scharff
Oct 1, 2026
Building Reusable Validators in Angular Signal Forms
Learn how to create reusable custom validators with Angular Signal Forms, with practical examples for building flexible and maintainable form validation.
Alain Chautard
Sep 29, 2026